How to Choose a DIY Tube Amplifier Kit
Quick answer: Choose a DIY tube amplifier kit by matching the project to your soldering experience, intended speakers or headphones, available tools and high-voltage safety knowledge. A complete kit with a detailed manual is usually better for a first build than a cheaper collection of parts.
A good kit reduces uncertainty. It provides compatible transformers, a drilled chassis, a bill of materials and a tested circuit. An incomplete kit can become more expensive than a premium package once missing hardware, tubes and tools are added.
Step 1: Choose the Correct Amplifier Type
| Project type | Best for | Main challenge |
|---|---|---|
| Headphone amplifier | Desktop listening | Output impedance and headphone matching |
| Preamplifier | Existing power amp or active speakers | Noise and grounding |
| Single-ended speaker amp | Efficient speakers | Low power and transformer quality |
| Push-pull speaker amp | More speaker power | More complex wiring and bias |
| Phono preamp | Turntable systems | Very low noise and careful layout |
Step 2: Assess Your Skill Level
Beginner
A beginner should choose a kit with a photographic manual, pre-punched chassis, clearly identified wires and strong manufacturer support. Point-to-point wiring can be understandable when the documentation is excellent, but it still requires careful workmanship.
Intermediate
An intermediate builder can consider circuit-board assembly, multiple transformers, manual bias and more complex grounding.
Advanced
Advanced projects may involve custom chassis work, mains wiring, troubleshooting oscillation and modifying the circuit. These are not appropriate first high-voltage builds.
Step 3: Check What the Kit Includes
- Chassis and base
- Power transformer
- Output transformers
- Tubes
- Tube sockets
- Circuit boards or terminal strips
- Resistors and capacitors
- Wire and hardware
- Power cord and fuse holder
- Top cover or protective cage
- Printed or downloadable manual
Some classic kits exclude tubes or protective covers. A low kit price may therefore not represent the final project cost.
Step 4: Evaluate the Manual
The manual is one of the most valuable parts of a DIY kit. Look for step-by-step photographs, wire-length instructions, resistance checks before power-up, voltage test points and a troubleshooting section.
Affiliate disclosure: TubeDecoded may earn a commission from selected links. This guide prioritizes safe documentation, complete packages and current manufacturer support.
Step 5: Match the Output to Your Equipment
Low-powered single-ended amplifiers require efficient speakers. OTL headphone amplifiers often work best with high-impedance dynamic headphones. Do not choose a kit solely by the tube type or appearance.
Step 6: Check Voltage and Mains Compatibility
Verify that the power transformer supports local mains voltage and frequency. A plug adapter does not convert voltage. Imported kits may require a different transformer connection or may not support every region.
Step 7: Calculate the Complete Cost
- Kit price
- Tubes if not included
- Protective cover
- Shipping and import charges
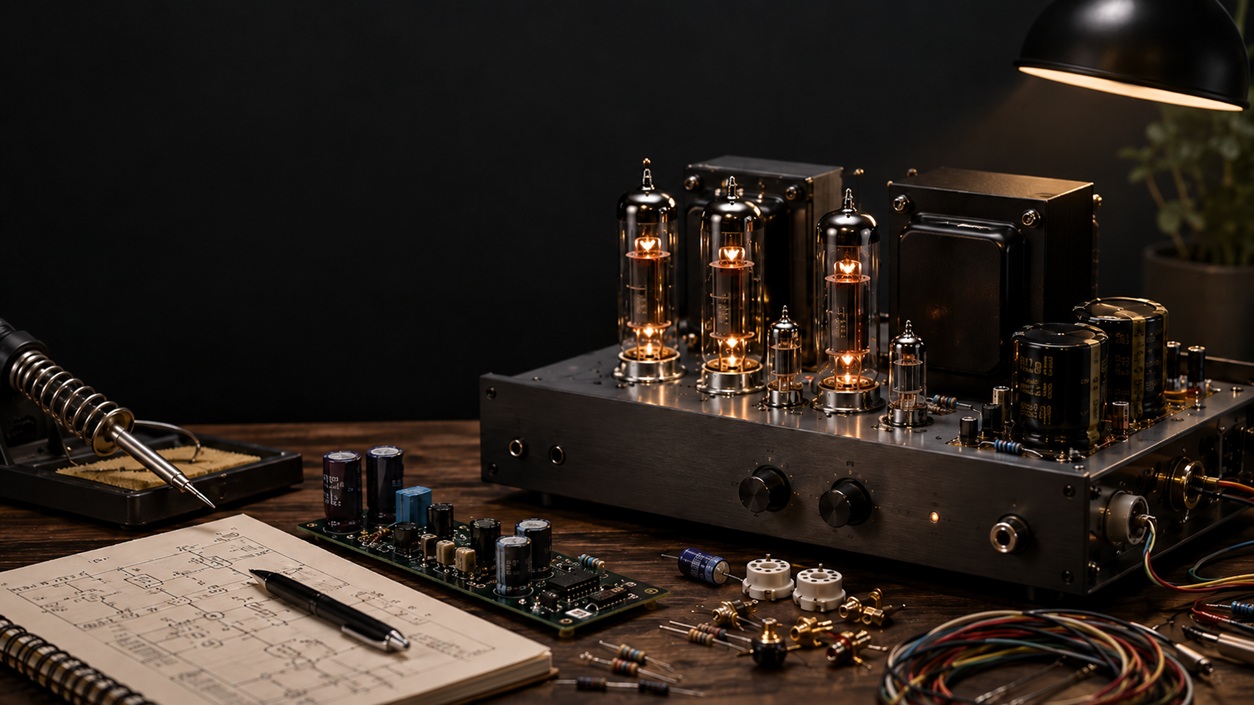
- Soldering equipment
- High-voltage-rated multimeter
- Finishing materials
- Replacement parts for mistakes
- Speakers or headphones suitable for the design
Step 8: Evaluate Support and Parts Availability
A good kit manufacturer should provide replacement parts, documentation and a way to resolve build errors. Community forums and completed build photographs are also useful.
Step 9: Plan the First Power-Up
- Complete all resistance and continuity checks in the manual.
- Inspect mains wiring and fuse placement.
- Confirm tube orientation.
- Use the specified first-power-up procedure.
- Keep one hand away from the chassis when live measurement is unavoidable.
- Use insulated probes secured before power is applied when possible.
- Disconnect power and verify capacitor discharge before touching the circuit.
High-voltage warning: Vacuum-tube circuits can contain lethal voltage. If the manual requires live measurements that you do not understand, do not continue without qualified supervision.
Red Flags in Cheap Kits
- No complete schematic
- No high-voltage safety section
- Unmarked transformers
- No fuse or grounding instructions
- Contradictory parts list
- Only a circuit board without chassis documentation
- No support or replacement parts
- Unrealistic power claims
Final Checklist
- The kit matches my headphones or speakers.
- The manufacturer supports my mains voltage.
- I understand every required tool.
- The kit includes or identifies every major part.
- The manual includes test procedures.
- I understand how capacitors are discharged.
- I have a safe workspace without children or pets.
- I will stop if live troubleshooting exceeds my training.
Final Recommendation
TubeDecoded conclusion: For a first DIY tube amplifier, prioritize a complete kit, a detailed manual and a responsive manufacturer. Avoid selecting the cheapest or most powerful project. A safe successful build is more valuable than a complicated amplifier that never operates correctly.